Blog - On the Easel

A collection of updates, recent information and things that inspire me.

Ship in a Bottle


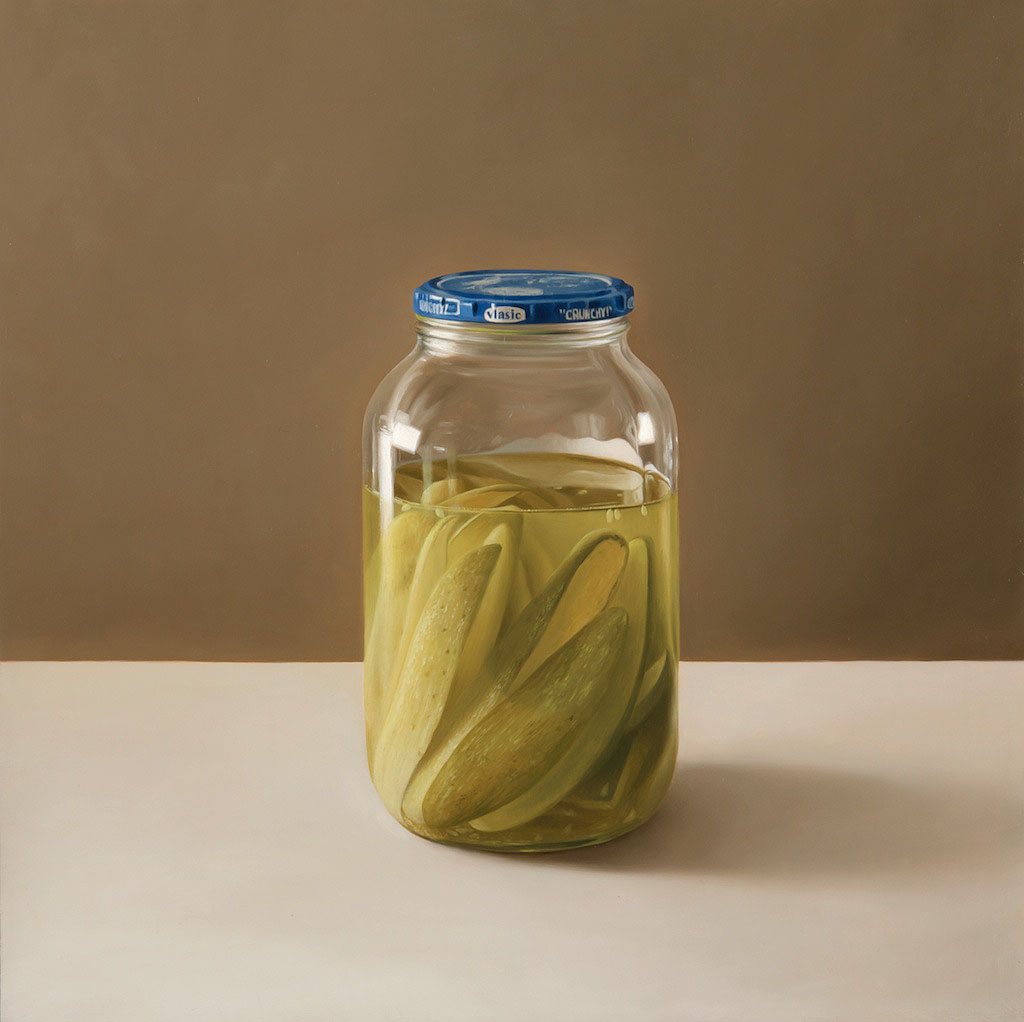
"Ship in a Bottle" oil on panel 11" x 14". One of the best things about having a studio on the Wilmington Art Loop, is that people have a bunch of questions. What is interesting about the questions for me is that I get  insight into how people think about my work. One question I have gotten a lot recently is how do you paint something clear. Probably since my studio is brimming with paintings of glass or plastic. It isn't a question that has occurred to me in years because I am so used to painting transparent objects that it seems so obvious. But when I think back to how I felt when seeing something transparent in a painting as a kid it seemed like magic. The truth is, it is still really fun for me to paint glass because it is such a stunning illusion when done right.

The first bit of advice came from a teacher I had in high school. I was stuck trying to paint hair and was looking for some magical technique that would make it easier and my teacher said," just paint what you see". At first it seemed like horrible advice but he was absolutely right. You don't need a bag of tricks that you apply when the right situation appears, just paint what you see. If it seems too difficult it is because you are over-thinking it. When you are stuck just look at a tiny spot on your subject, re-produce it and move on. Ok, now that I've said that it is time to open the bag of tricks!

A clear object is see-thru, so naturally you should paint it the color of the background. Where it gets interesting, is where the glass is turning away from you at the edge of the object and distorting the image behind it. The thicker the glass the greater the distortion, so at the sides of a bottle you are looking through more glass and the image behind is being pinched giving the impression of a slight darkening of the background. towards the edge there can also be reflections, so I am always looking for these two effects in my subject and trying to reproduce the effect in my painting. On the inside edge there can be a wavy distortion that can be nice to slightly exaggerate . Another key to describing something clear and shiny is a crisp highlight, but I always try to bring down the edge slightly so the highlight doesn't look like  it has been pasted on.

Inflatable Toy

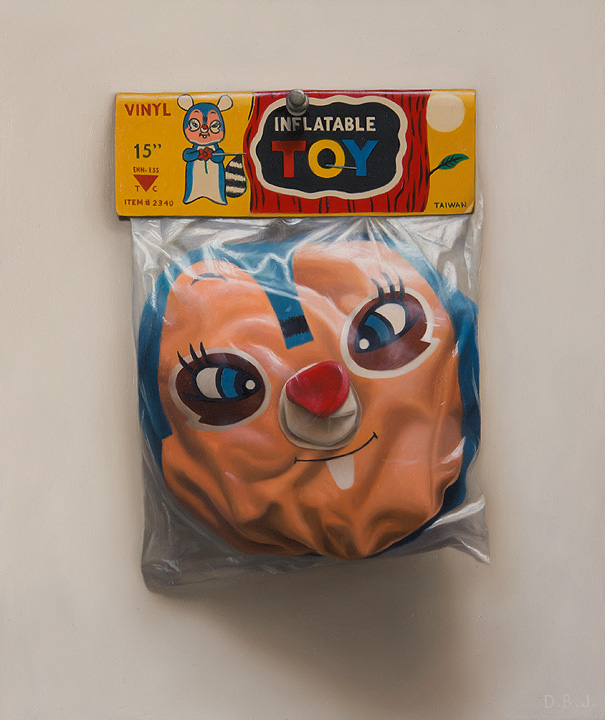
blow up doll "Inflatable Toy" oil on aluminum panel 12" x 10". I know that the title got some of you excited but this isn't that kind of a blog, I am actually a little grossed out that you were thinking in the gutter like that. I mean who the hell am I hanging out with these days. You try to do a nice  painting and.... aww forget it. This is stupid, the whole thing is stupid, I have no idea why I even try.

New Images


A couple more images of paintings that have just been varnished, this time both paintings are re-workings. I removed an old coat of varnish and re-worked both of these paintings. And now I'm happy with them......for now.....

Photos after varnish


After varnishing, paintings always look a lot better. These are some recent projects that I have shown before in various stages but now they have been varnished and the colors have come back out.


If you compare these to recent posts you can see how dramatic the difference is.


Horns on Blue.... Re-Do


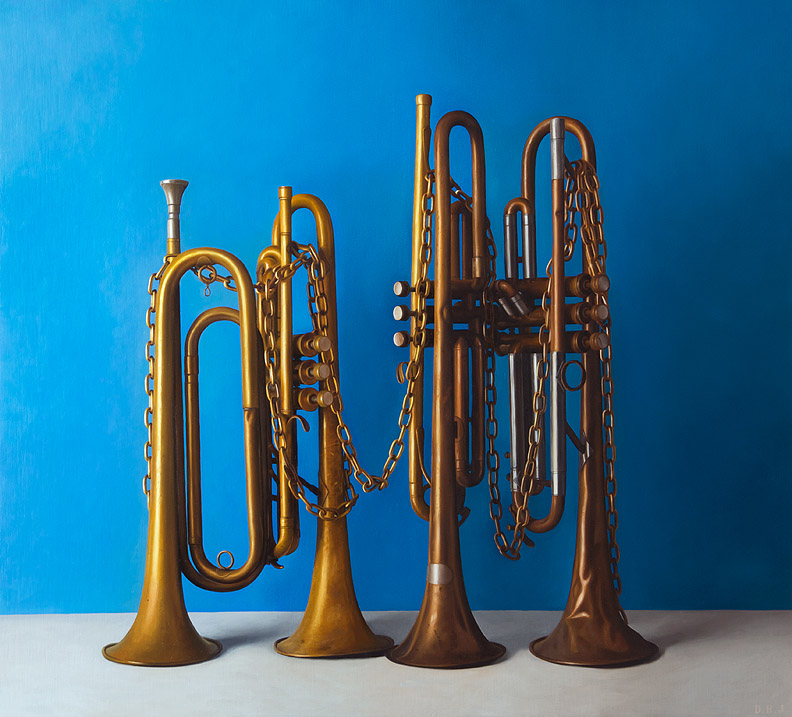
From time to time I will get a painting back from a gallery that for whatever reason didn't find a home. I know that shouldn't affect my feelings towards my painting but it does, and often I will try and figure out exactly what isn't working, it might be the frame, or maybe the wrong gallery with a clientele that doesn't care for the painting or maybe the painting just doesn't work as well as it could. This painting "Chained Melody" is 33"x35" and frankly, I love it, it is a painting that if I could afford to keep I would but... it eats light. I did a bit of glazing on this painting and just like a stained glass window if this painting doesn't get a bunch of light it looks black, or at least too dark. This first picture shows a few of the changes I have begun to make in the painting, first of all the blue went a lot lighter and more towards a cerulean than the ultramarine it was. I am also kicking up the brassy golden color in the horns, at this point I have done the first two horns and you can see how big the change is particularly when looking at the noisy end of the trumpets. The changes will add another week of work into a painting that already has a month in it so far, but so far I am really happy with the improvements I've made.


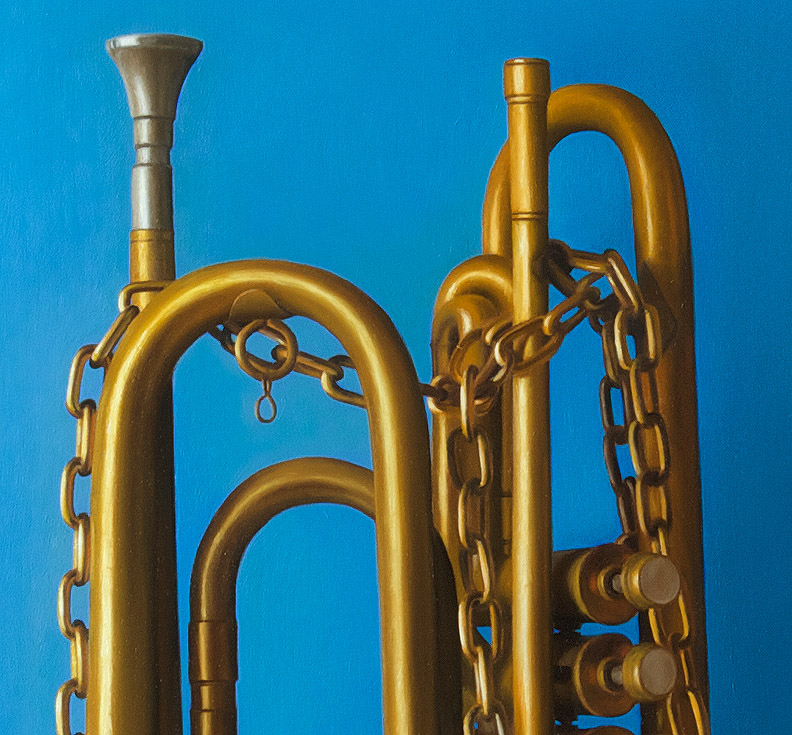
Here is a detail, not quite there yet but it doesn't feel too dark anymore.

And, here is what the painting looked like last week, you can see that the brass looks a bit more tarnished and the still life starts getting lost in the dark blue color on the right side of the painting. I'm keeping my fingers crossed that it will be worth all of the extra work.